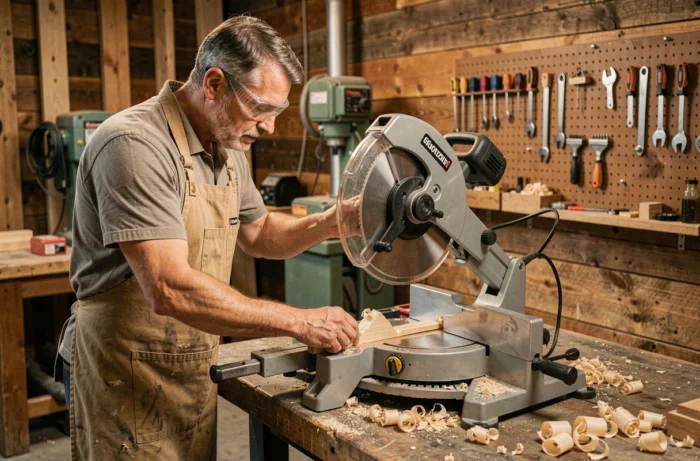
You are installing baseboards in a hallway and the wall angle is not straight. A 90° cut leaves a visible gap between the two pieces of wood. The solution is to make a bevel cut, which means tilting the blade on its lateral axis to achieve an oblique edge. With a miter saw, this type of cut becomes quick and repeatable, provided you master a few preliminary adjustments.
Why the bevel cut often fails on a miter saw
The most common problem does not come from the chosen angle, but from the blade itself. A warped, dirty, or dull blade increases heat and degrades the quality of the beveled edge. The motor works harder, the piece vibrates, and the result shows streaks or a slightly distorted angle.
Before adjusting the settings, inspect your blade. If the teeth are dull or if resin residues cover the body of the disc, replace or clean the blade before any bevel cut. This simple action resolves a large part of the defects wrongly attributed to the machine’s adjustment.
Another common trap: relying solely on the laser guide. A light marker may be misaligned while the blade is poorly positioned. Recent guides recommend checking each setting with a test cut on a scrap piece, then verifying the actual angle with a square or a reliable protractor. Knowing how to bevel cut with a miter saw starts with this habit of verification rather than blind trust in the settings.
Bevel adjustment on a miter saw: tilting and locking
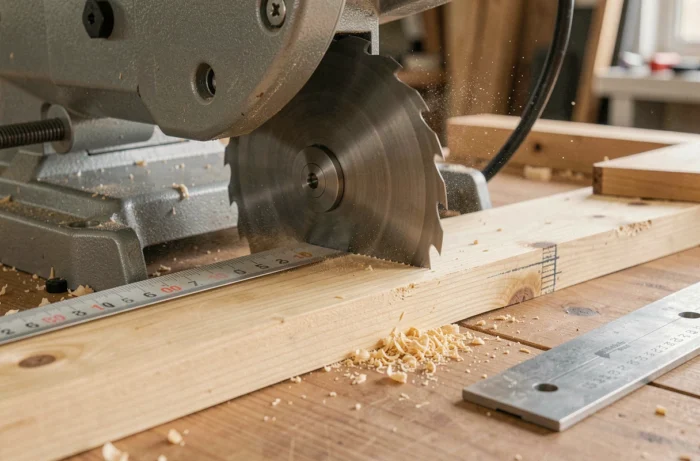
The bevel is achieved by tilting the cutting head to the side (left or right depending on the model). This movement changes the angle between the blade and the surface of the table.
Check zero before tilting
Unplug the machine. Lower the blade to the table and place a precision square against the body of the disc. The blade must form a perfect right angle with the table when the indicator is at 0°. If it is not, adjust the vertical stop designed for this purpose.
This check takes two minutes. It prevents a systematic offset on all subsequent cuts.
Tilt and lock the head
Loosen the tilt lever, tilt the head to the desired angle, and then lock it firmly. Check with a digital protractor if you are aiming for a precise angle. The molded graduations in the housing provide a rough estimate, not a reliable measurement to the tenth of a degree.
Always make a test cut on a scrap piece of wood before tackling the final piece. Measure the angle obtained. Correct if necessary, then start the series.
Compound cut: bevel and miter at the same time
You may have noticed that some assemblies, such as cornices or ceiling moldings, require two simultaneous angles. The table pivots for the miter (horizontal angle) while the head tilts for the bevel (vertical angle). This is called a compound cut.
This type of cut significantly reduces the cutting capacity of the machine. On a model equipped with a 210 mm blade, an advertised capacity of about 120 x 60 mm in straight cut can drop to 83 x 34 mm when both the miter and bevel are set to 45°. Check the compound cutting capacity in the technical sheet before starting a project with wide pieces.
To successfully make a compound cut:
- First set the miter angle on the pivoting table, then lock it.
- Then tilt the head for the bevel and lock the lever.
- Hold the piece firmly against the vertical guide, as the double tilt tends to push the wood during the blade’s descent.
- Make a complete test cut on a scrap piece similar in size to your final piece.
Choosing the right blade for a clean bevel
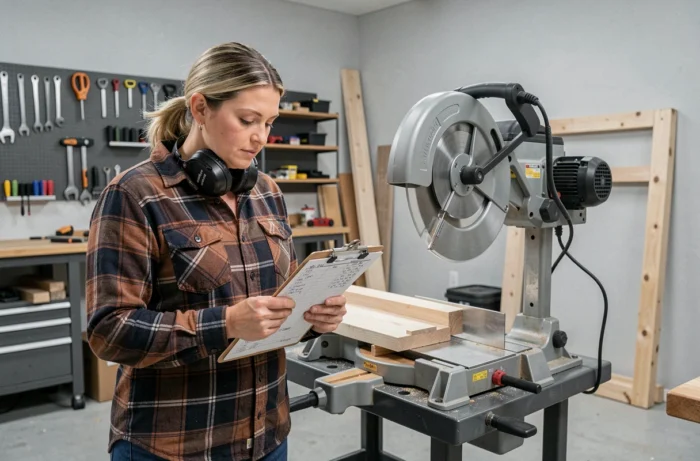
The number of teeth determines the compromise between speed and finish. A blade with about 24 teeth removes chips better and is suitable for framing or construction wood, where speed is essential. For baseboards, moldings, or any visible element in a living space, a blade with 60 to 80 teeth produces a smoother edge that requires little or no sanding.
The choice of blade matters more in bevel cutting than in straight cutting. The tilt increases the contact surface between the disc and the wood. A fine-toothed blade reduces chipping on this extended surface.
Safety and holding the piece during an inclined cut
The bevel cut changes the dynamics of the cutting process. The tilted blade exerts a lateral force on the piece, which can slip if not properly clamped.
- Always use the built-in clamp or an external clamping device to press the piece against the guide.
- Keep your hands away from the blade’s path, especially on the side where the head tilts.
- Wait for the disc to come to a complete stop before raising the head, as a freely rotating blade in an oblique notch can catch the scrap piece.
Never hold the piece by hand during a bevel cut, even for a short cut. The lateral force makes the action unpredictable.
Lastly, a point often overlooked: check that the scrap piece does not get stuck between the blade and the guide after the cut. In a bevel cut, the shape of the scrap is asymmetrical, and it can get stuck and then be ejected upon restarting. Remove it with the machine unplugged, or wait for a complete stop before clearing anything.